
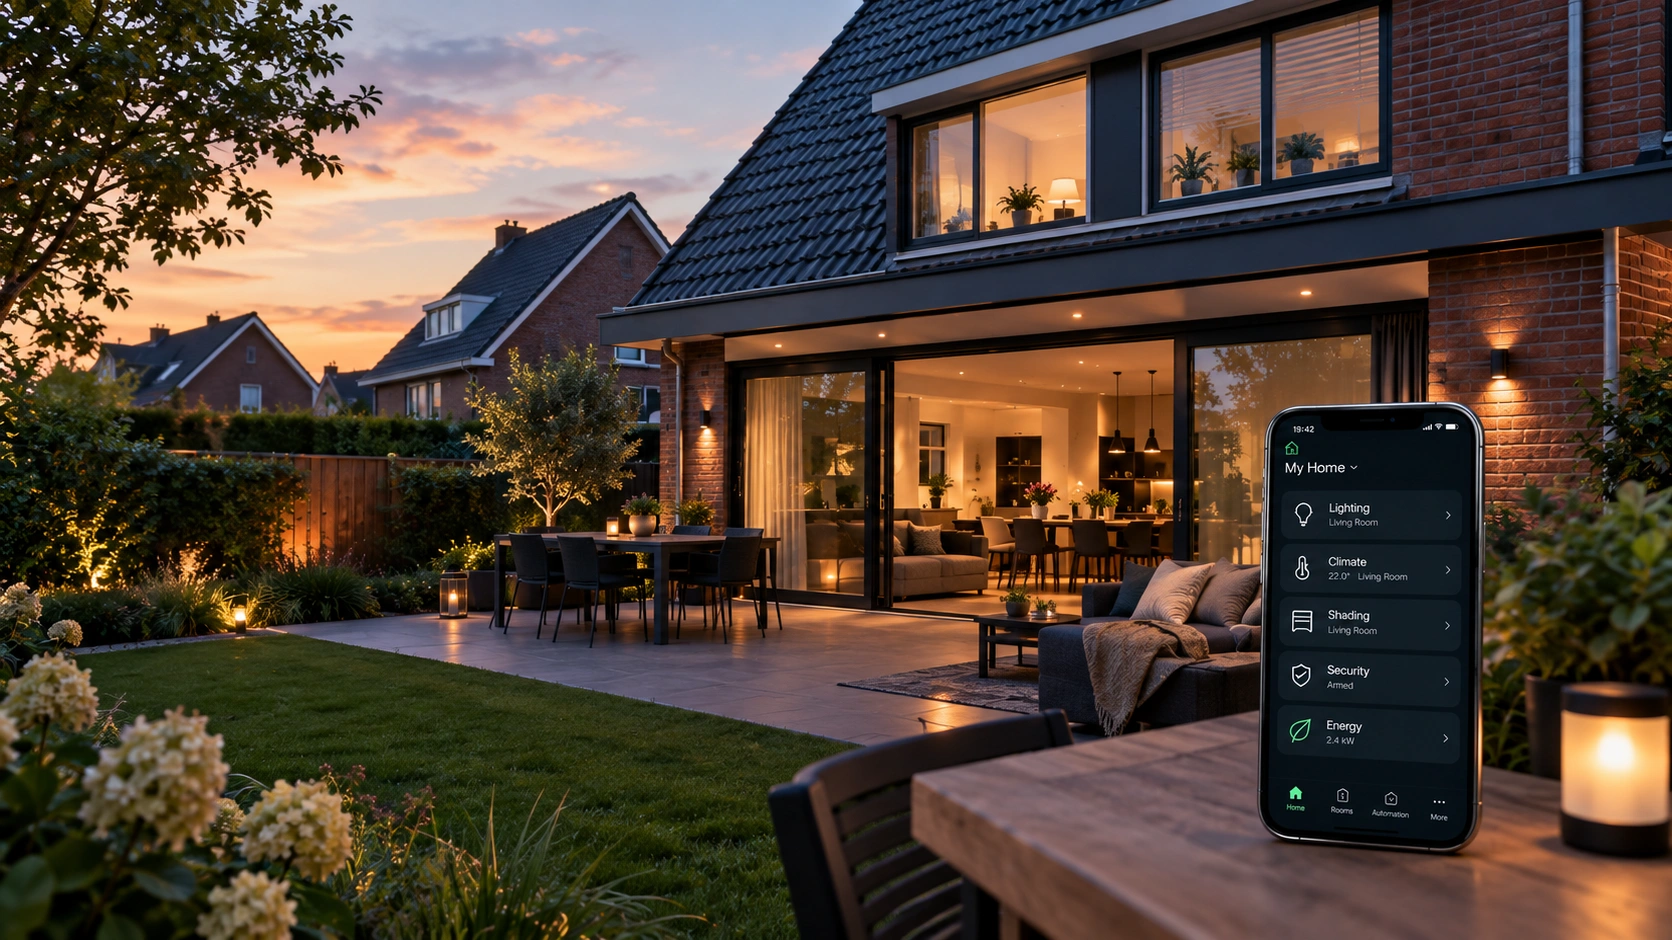

Waar sensoren te plaatsen zonder het interieur aan te tasten
Concealed, Coin-Sized Detection for Intelligent Buildings
Good automation depends on accurate information.
Sensors help a building understand when people are present, how warm a room is, whether a window is open or how much natural light is available. But while sensors are essential to an intelligent building, they do not need to dominate the interior.
For architects, interior designers and homeowners, the challenge is finding the right balance between technical performance and visual simplicity.
The best sensor is often the one you notice only when you need it.
With careful planning, many sensors can be positioned discreetly within ceilings, walls, joinery and other architectural details. Some compact sensors can be approximately the size of a coin, making it possible to support advanced automation without covering the interior with visible devices.
In this article, we explore where sensors should be positioned, what to consider during planning and how concealed detection can support a cleaner, more refined interior.
Start with the Sensor’s Purpose
Before deciding where a sensor should go, it is important to understand what the sensor needs to detect.
Different sensors have different requirements. A presence sensor needs a clear detection area. A temperature sensor needs to measure the room accurately. A window contact needs to be positioned within the frame, while a light-level sensor needs access to the relevant daylight conditions.
The ideal location is therefore determined by both the sensor’s function and the design of the room.
Common sensor types include:
- Aanwezigheids- en bewegingssensoren
- Temperatuursensoren
- Humidity sensors
- Light-level sensors
- Air-quality sensors
- Deur- en raamcontacten
- Water-leak sensors
- Rook- en warmtedetectoren
- Energy-monitoring devices
Each sensor should be selected and positioned according to the information it needs to collect.
Why this matters
A sensor that looks discreet but cannot detect accurately will not provide a reliable automation experience.
The design process should therefore consider:
- What needs to be detected?
- How large is the detection area?
- What could obstruct the sensor?
- Does the sensor need direct exposure to light or air?
- How should it be accessed for maintenance?
- Can it be integrated into the architecture?
Good sensor placement begins with performance — then considers appearance.
Position Presence Sensors Where People Actually Move
Presence sensors are used to detect activity within a space.
They can support lighting, climate control, security and other automations by helping the building understand whether an area is occupied.
The sensor should be positioned where it has a clear view of the area it needs to monitor.
Suitable locations may include:
- Ceilings
- Central ceiling positions
- Hallway junctions
- Entrance areas
- Open-plan workspace zones
- Meeting-room ceilings
- Carefully selected wall positions
Ceiling-mounted sensors are often useful because they can provide a broad detection area while remaining visually discreet.
However, the centre of a room is not always the correct position. Furniture, partitions, beams and room geometry can affect detection.
Things to consider
- The shape and size of the room
- Typical movement patterns
- Furniture and built-in cabinetry
- Doorways and circulation routes
- Potential blind spots
- Sensor detection range
- Ceiling height
- The position of lighting zones
A sensor should be placed based on the way people use the room, rather than simply choosing the most convenient installation point.
The best position is the one that gives the sensor a clear view of real activity.

Use Ceilings to Keep Detection Discreet
Ceilings are often one of the most effective places to position sensors without compromising the interior.
A small sensor can be integrated into a ceiling surface, recessed detail or carefully coordinated architectural feature.
This approach can help maintain clean walls and reduce visual clutter, particularly in minimalist interiors.
Ceiling placement works well for:
- Living rooms
- Kitchens
- Hallways
- Bedrooms
- Meeting rooms
- Open-plan offices
- Reception areas
- Circulation spaces
A ceiling location can also provide a useful detection angle, depending on the sensor type and room layout.
Important considerations
Ceiling-mounted sensors should be coordinated with:
- Lighting fixtures
- Air-conditioning diffusers
- Ventilation outlets
- Sprinklers
- Ceiling speakers
- Access panels
- Decorative ceiling features
- Structural elements
The goal is to create a coordinated ceiling layout where every component has a clear purpose.
Concealed does not mean inaccessible
Even when a sensor is discreetly installed, it should remain serviceable.
The installation team should know how the sensor can be accessed, tested or replaced if required.
A clean ceiling is the result of coordination, not simply hiding equipment at the last minute.
Integrate Sensors into Joinery and Interior Details
Not every sensor needs to be installed in the middle of a ceiling.
Some sensors can be integrated into joinery, cabinetry, door frames and other interior details.
This can be particularly useful when the ceiling is architecturally complex or when a wall-mounted device would interrupt the design.
Potential integration points include:
- Built-in cupboards
- Kitchen cabinetry
- Wardrobes
- Door frames
- Timber panelling
- Shelving
- Ceiling bulkheads
- Service panels
- Decorative wall features
For example, a compact sensor may be integrated into a carefully designed joinery detail, while a door contact can be positioned within the frame rather than mounted visibly on the surface.
What to consider
The material and construction detail must still allow the sensor to function correctly.
Depending on the sensor type, solid timber, metal, dense finishes or enclosed cabinetry may affect performance.
The design team should confirm:
- Whether the material interferes with detection
- Whether the sensor needs an opening or clear view
- Whether the device generates heat
- How the sensor will be accessed
- Whether the finish can be maintained over time
The most successful integrations are designed into the joinery from the beginning.
Keep Temperature Sensors Away from False Readings
Temperature sensors need to measure the room accurately.
Their position can influence the information they collect, which means they should not be placed wherever there is simply an available wall or ceiling space.
A temperature sensor may produce inaccurate readings if it is positioned too close to a heat source, direct sunlight or a draught.
Avoid placing temperature sensors directly beside:
- Radiators
- Heaters
- Fireplaces
- Ovens
- Cooking appliances
- Direct sunlight
- Air-conditioning outlets
- Open windows
- Exterior doors
- Heat-producing equipment
A suitable location is usually one that represents the general temperature of the room.
Why placement matters
Accurate temperature readings help climate automation respond appropriately.
If a sensor reads higher or lower than the actual room temperature, the heating or cooling system may react unnecessarily.
This can lead to:
- Uneven comfort
- Excessive heating or cooling
- Increased energy use
- Unwanted temperature changes
- Resident complaints
The sensor should be discreet, but accuracy must remain the priority.
A well-concealed temperature sensor is only useful when it measures the room correctly.

Plan Door and Window Contacts During Construction
Door and window contacts are often among the easiest sensors to conceal, but they need to be planned before the frames and finishes are completed.
These sensors can help monitor whether a door or window is open or closed.
They may support:
- Security functions
- Klimaatregeling
- Ventilation responses
- Shading logic
- Energy-saving routines
- Access monitoring
Typical installation locations
Contacts can be integrated into:
- Window frames
- Door frames
- Sliding doors
- Balcony doors
- Security doors
- Utility-room doors
- Storage areas
When correctly installed, the sensor can remain almost entirely out of sight.
Why early planning matters
The frame, hardware and sensor must work together.
The installation team needs to consider:
- The type of door or window
- The opening direction
- Frame material
- Sensor alignment
- Kabelroutes
- Access for maintenance
- The final interior finish
Retrofitting these sensors after the frames are installed may be more disruptive and less visually consistent.
The cleanest result is achieved when the sensor is part of the door or window design from the start.
Consider Light Levels and Daylight
Light-level sensors can help automation understand how much natural light is available.
This information can support lighting control, shading and energy-management functions.
However, the sensor needs to measure the relevant light conditions accurately.
A sensor positioned in a dark corner may not provide useful information about the rest of the room. A sensor placed directly beside a lamp may also read artificial light rather than daylight.
Suitable considerations include:
- The direction of the windows
- The amount of natural daylight
- The position of artificial lighting
- Reflections from glass and bright surfaces
- Shading and curtains
- The room’s intended use
- Whether the sensor is measuring general or local light levels
In some cases, the sensor can be integrated into the ceiling or another discreet architectural location.
The important point is that the sensor should be positioned to represent the lighting conditions that the automation system needs to understand.
How it can support automation
Light-level information may help with:
- Daylight-dependent lighting
- Glare reduction
- Geautomatiseerde zonwering
- Energy-saving lighting routines
- Consistent illumination
- Human-centric lighting strategies
Lighting automation works best when the system understands both the people and the daylight in the space.
Place Air-Quality Sensors Where They Can Read the Room
Air-quality sensors can monitor conditions such as carbon dioxide, humidity and other indoor air-quality indicators, depending on the device.
Their placement is important because air movement is not always evenly distributed throughout a room.
A sensor positioned directly beside an open window or ventilation outlet may not represent the general air quality experienced by the occupants.
Consider avoiding locations:
- Directly beside ventilation outlets
- Immediately next to open windows
- Behind curtains
- Inside closed cupboards
- Above cooking appliances
- Beside strong heat sources
- In areas with unusual air movement
For offices and meeting rooms, air-quality sensors can be particularly useful in spaces where occupancy changes throughout the day.
For homes, they may support better awareness of bedroom, living-room and study conditions.
How the data can be used
Depending on the system, air-quality information may support:
- Ventilation adjustments
- Notifications
- Comfort monitoring
- Occupancy-based climate strategies
- Energy-conscious ventilation
- Building performance analysis
The sensor should be discreet, but it must still have access to the air it needs to measure.
A concealed air-quality sensor should be integrated into the room — not sealed away from it.
Coordinate Sensors with Lighting and Services
A sensor may be small, but it still forms part of a larger building system.
When several services share a ceiling or wall, poor coordination can create visual clutter or reduce performance.
A good sensor plan should therefore be coordinated with the full technical layout.
Consider the relationship between sensors and:
- Downlights
- Pendant lights
- Ceiling speakers
- Air-conditioning diffusers
- Ventilation grilles
- Sprinklers
- Smoke detectors
- Access panels
- Curtain tracks
- Structural beams
- Decorative features
This is particularly important in high-quality residential and commercial projects where the ceiling design is a major part of the interior.
A coordinated layout can help:
- Avoid unnecessary visual clutter
- Improve sensor coverage
- Prevent interference
- Simplify installation
- Reduce site changes
- Support a more refined finish
- Make future maintenance easier
The best result usually comes from reviewing the reflected ceiling plan and interior elevations together, rather than treating sensors as a separate technical item.
Every sensor should have a planned place within the architecture.
Use a Consistent Sensor Strategy Across Multiple Apartments
For residential developments, consistency can be just as important as concealment.
When several apartments share a similar layout, a repeatable sensor strategy can simplify design, procurement, installation and commissioning.
This does not mean every sensor must be positioned identically in every apartment. Differences in orientation, furniture, room size and window placement may require adjustments.
However, the overall approach can remain consistent.
A repeatable strategy may define:
- Standard sensor types
- Preferred ceiling locations
- Typical temperature-sensor positions
- Door and window contact requirements
- Standard wiring routes
- Common control logic
- Typical commissioning procedures
- Approved installation details
This can help reduce design duplication while maintaining flexibility where it is needed.
Benefits for developers and project teams
A consistent sensor strategy can:
- Improve quality control
- Simplify installation
- Reduce coordination errors
- Support predictable project costs
- Make maintenance easier
- Create a consistent resident experience
- Allow future upgrades to be planned more effectively
The specification should still allow for apartment-specific changes where the architecture or usage requires them.
Standardise the method, not every detail.
Concealment Should Never Compromise Maintenance
A sensor may be hidden from view, but it should not be impossible to reach.
Every installation should consider what happens if the sensor needs testing, adjustment, replacement or troubleshooting.
This is especially important in ceilings, built-in cabinetry and finished interior surfaces.
Maintenance planning should consider:
- How the sensor can be accessed
- Whether the finish can be removed safely
- Whether replacement parts are available
- Whether the sensor can be tested without damaging the interior
- Whether the location is documented
- Whether the device can be identified later
- Who is responsible for future service
A sensor hidden behind a permanent finish may create unnecessary cost and disruption if it fails.
The installation should therefore balance three priorities:
- Visual integration
- Reliable performance
- Practical service access
Why documentation matters
The final project documentation should identify sensor locations, device types and relevant installation details.
This information can be useful for:
- Future maintenance
- Renovations
- System upgrades
- Troubleshooting
- Overdracht
- Facilities management
Discreet installation is good design. Discreet installation without documentation is a future problem.
Design the Sensor into the Interior from Day One
The most successful concealed sensor installations are considered during the early design stages.
When sensors are introduced late, the available options may be limited. The project may already have fixed ceiling layouts, completed joinery, finished walls or restricted cable routes.
Early planning creates more opportunities.
Architects and designers can coordinate sensor locations with the overall interior concept. Electrical teams can plan wiring and power requirements. Integrators can confirm detection coverage and system functionality.
Early coordination can include:
- Sensor selection
- Ceiling and wall layouts
- Furniture planning
- Joinery details
- Electrical drawings
- Reflected ceiling plans
- Door and window schedules
- Network and control infrastructure
- Commissioning requirements
This approach helps ensure that automation supports the interior rather than appearing as an afterthought.
The result
With the right planning, sensors can be:
- Small
- Discreet
- Functional
- Accessible
- Consistent
- Architecturally integrated
The technology becomes part of the building’s design language rather than something added on top of it.
The best time to conceal a sensor is before the interior is finished.
Intelligent Technology, Considered Interiors
Sensors are essential to creating responsive homes, apartments and workplaces.
They help automation systems understand occupancy, temperature, daylight, air quality, access and other conditions that influence how a building should operate.
But technical performance and visual simplicity do not need to compete.
With careful planning, compact sensors can be integrated into ceilings, joinery, frames and architectural details. Some devices are small enough to be approximately the size of a coin, allowing them to support intelligent automation without becoming a dominant feature of the interior.
The key is to consider each sensor early and position it according to:
- What it needs to detect
- How people use the space
- The architecture and interior finishes
- The surrounding technical services
- Future maintenance requirements
- The overall automation strategy
At DY Techniek, we believe intelligent buildings should feel natural, comfortable and thoughtfully designed.
Working with architects, planners, developers and homeowners, we help coordinate automation systems that deliver reliable performance while respecting the character of the interior.
Technology should enhance the space — not compete with it.